

Not your average Christmas Wrap- 10 DIY Kraft Paper Ideas.
12.23.2013

Print via Lily & Val- Rustic Barn wood Frames via my Brother in law's shop: Old Red Barn Shop.
I love decorating at Christmas time. It's just so magical. My favorite thing is curling up on the couch with hot coffee and a cozy blanket and sitting in the glow of the twinkle lights. I don't think I will ever outgrow that. Here are some of my favorite Christmas nooks I shared on Instagram.

My DIY Wood slice 5 & vintage finds!


Print via Lily & Val- Rustic Barn wood Frames via my Brother in law's shop: Old Red Barn Shop.

Free printable found via AKAdesign

Free Printable via Hoosier Handmade.

12.07.2013


I love making ornaments for our Christmas tree. I think the best ornaments are the rustic ones with special meaning. I am making it a new tradition to make some kind of ornament each year with my kids! This year I chose to make cinnamon applesauce ornaments like I remember making as a kid.
Here is what you will need:
1 cup of applesauce
1 1/2 cups cinnamon (I ended up adding more until a stiff dough formed)
Various mini cookie cutters - I used a star, heart, tree & gingerbread man.
Tooth pick
Diamond tip reamer (for making holes bigger when they come out of the oven)
Twine

Sprinkle some cinnamon on your counter top and roll your dough to approximately 1/4″ thick. Make sure to use enough cinnamon so you don't have a sticky mess on your hands, and counter, and rolling pin!
Use your cookie cutters and cut out the shapes & place them on a parchment paper lined cookie sheet.
Use a tooth pick to make holes in the tops for hanging.
Bake at 200 degrees F for 1.5-2 hours until they are hardened. Let them cool overnight.

When mine were dry, I could not get the twine through the hole, so I used my diamond tip reamer to carefully make the holes a little bigger.

I chose to use my solid red twine to hang my little guys from!


I love how these turned out! And they smell wonderful!! I am going to be hanging them on my little "kitchen tree" along with all my spoon ornaments!
Do you make your own Christmas ornaments? Leave a comment, I would love more ideas!
12.27.2012

I love gathering with family, exchanging gifts & spending time together.
I love decorating.
I love baking cookies with my aunt & cousins.
I love giving gifts.
I love singing Christmas songs.
I love snuggling up by the twinkle lights.
I love hearing my kids excitement on Christmas eve, the only night they go to bed without complaint.
I love celebrating my Savior's Birth.
It is just a magical time of year.


Every year is the same. When all the presents are opened and all the family Christmas's are over, there's that empty feeling. A Christmas hangover I guess...
But I really enjoyed it this year. Kids really make Christmas magical! Watching them & their wonder was so refreshing!
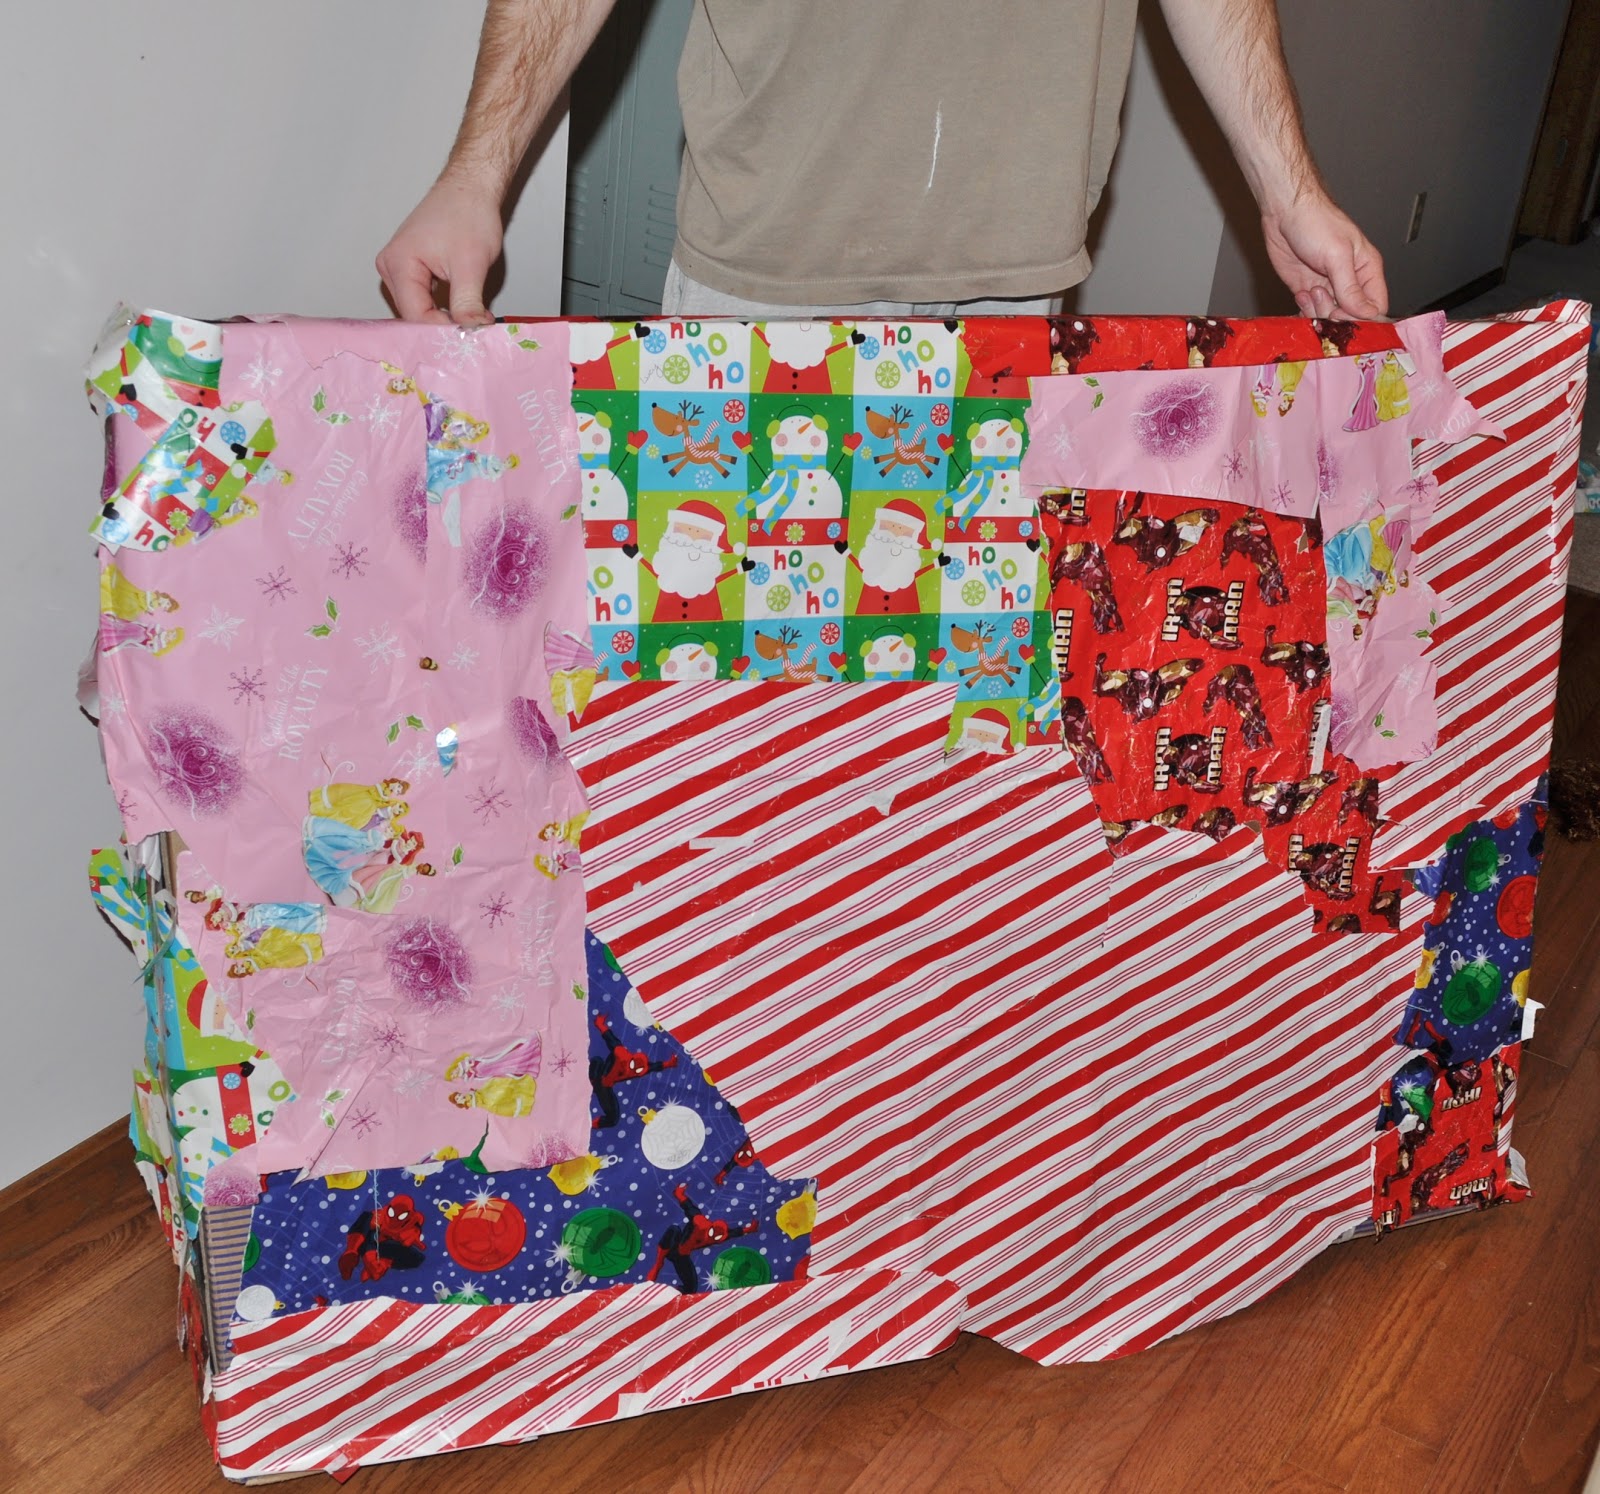
Then when all the presents had been opened, the hubby decided to "recycle" our paper and wrap up his dad's present with it! I thought it was quite funny & so did his family! :)


We even had our first big snow!

12.24.2012


Today, on Christmas Eve, my friend & graphic designer extraordinaire Dana, is sharing her ADORABLE snowy nails DIY with us today for the last 12 days of Christmas post!
Dana is very talented in so many different areas, she is never afraid to try new things, always willing to help me & has an amazing blog you should definitely add to your reading list!

Her snowy nails tutorial was so adorable & easy I had to ask her to share it with us! I never knew you would use newspaper clippings to create such adorable nails! This will be a must try for me!
Head over to Dana's blog for the full tutorial & paint yourself some festive Christmas nails for the big Day tomorrow!
Happy Christmas Eve Everyone!
“The virgin will conceive and give birth to a son, and they will call him Immanuel” - Matthew 1:23
12.18.2012


I love my mantel! When I got it this summer, I was already thinking of how I could decorate it for Christmas.

Then when I decided to paint the mantel mint, the first thing that popped into my head was how will my Christmas decorations look sitting on it?
No joke, I really thought that.
But, since I'm not really into the traditional red & green colors of Christmas, I decided all would be okay.


I LOVE how our mantel looks! It reflects my style & the warmth I feel during Christmas time. I get a cozy, happy feeling sitting in the living room at night with the twinkle lights a-twinkling. ;)


What's on my Mantel:
♥ Reclaimed barn wood frames from Old Red Barn Shop, which happens to be my Brother in Law Ian's shop! I SERIOUSLY love them! I have 2 more in my home & 3 more on order for our bedroom!
♥ Chalk board Art from Lily & Val. I love our monogram N, that will stay up there all year! And the Joy to the World print is one of my favorite Christmas decorations I have ever had! (I also have the Baby it's Cold Outside & May all your days be merry & bright prints...I love them all!)
♥ Pine Cone Garland, Cone Tree & twinkle lights (LOVE twinkle lights) from R Classic Elements, a local store owned by my Mom's Friend Renee.

Only 7 days left until Christmas!